Tuesday, September 29th: Surprise Birthday Gift!
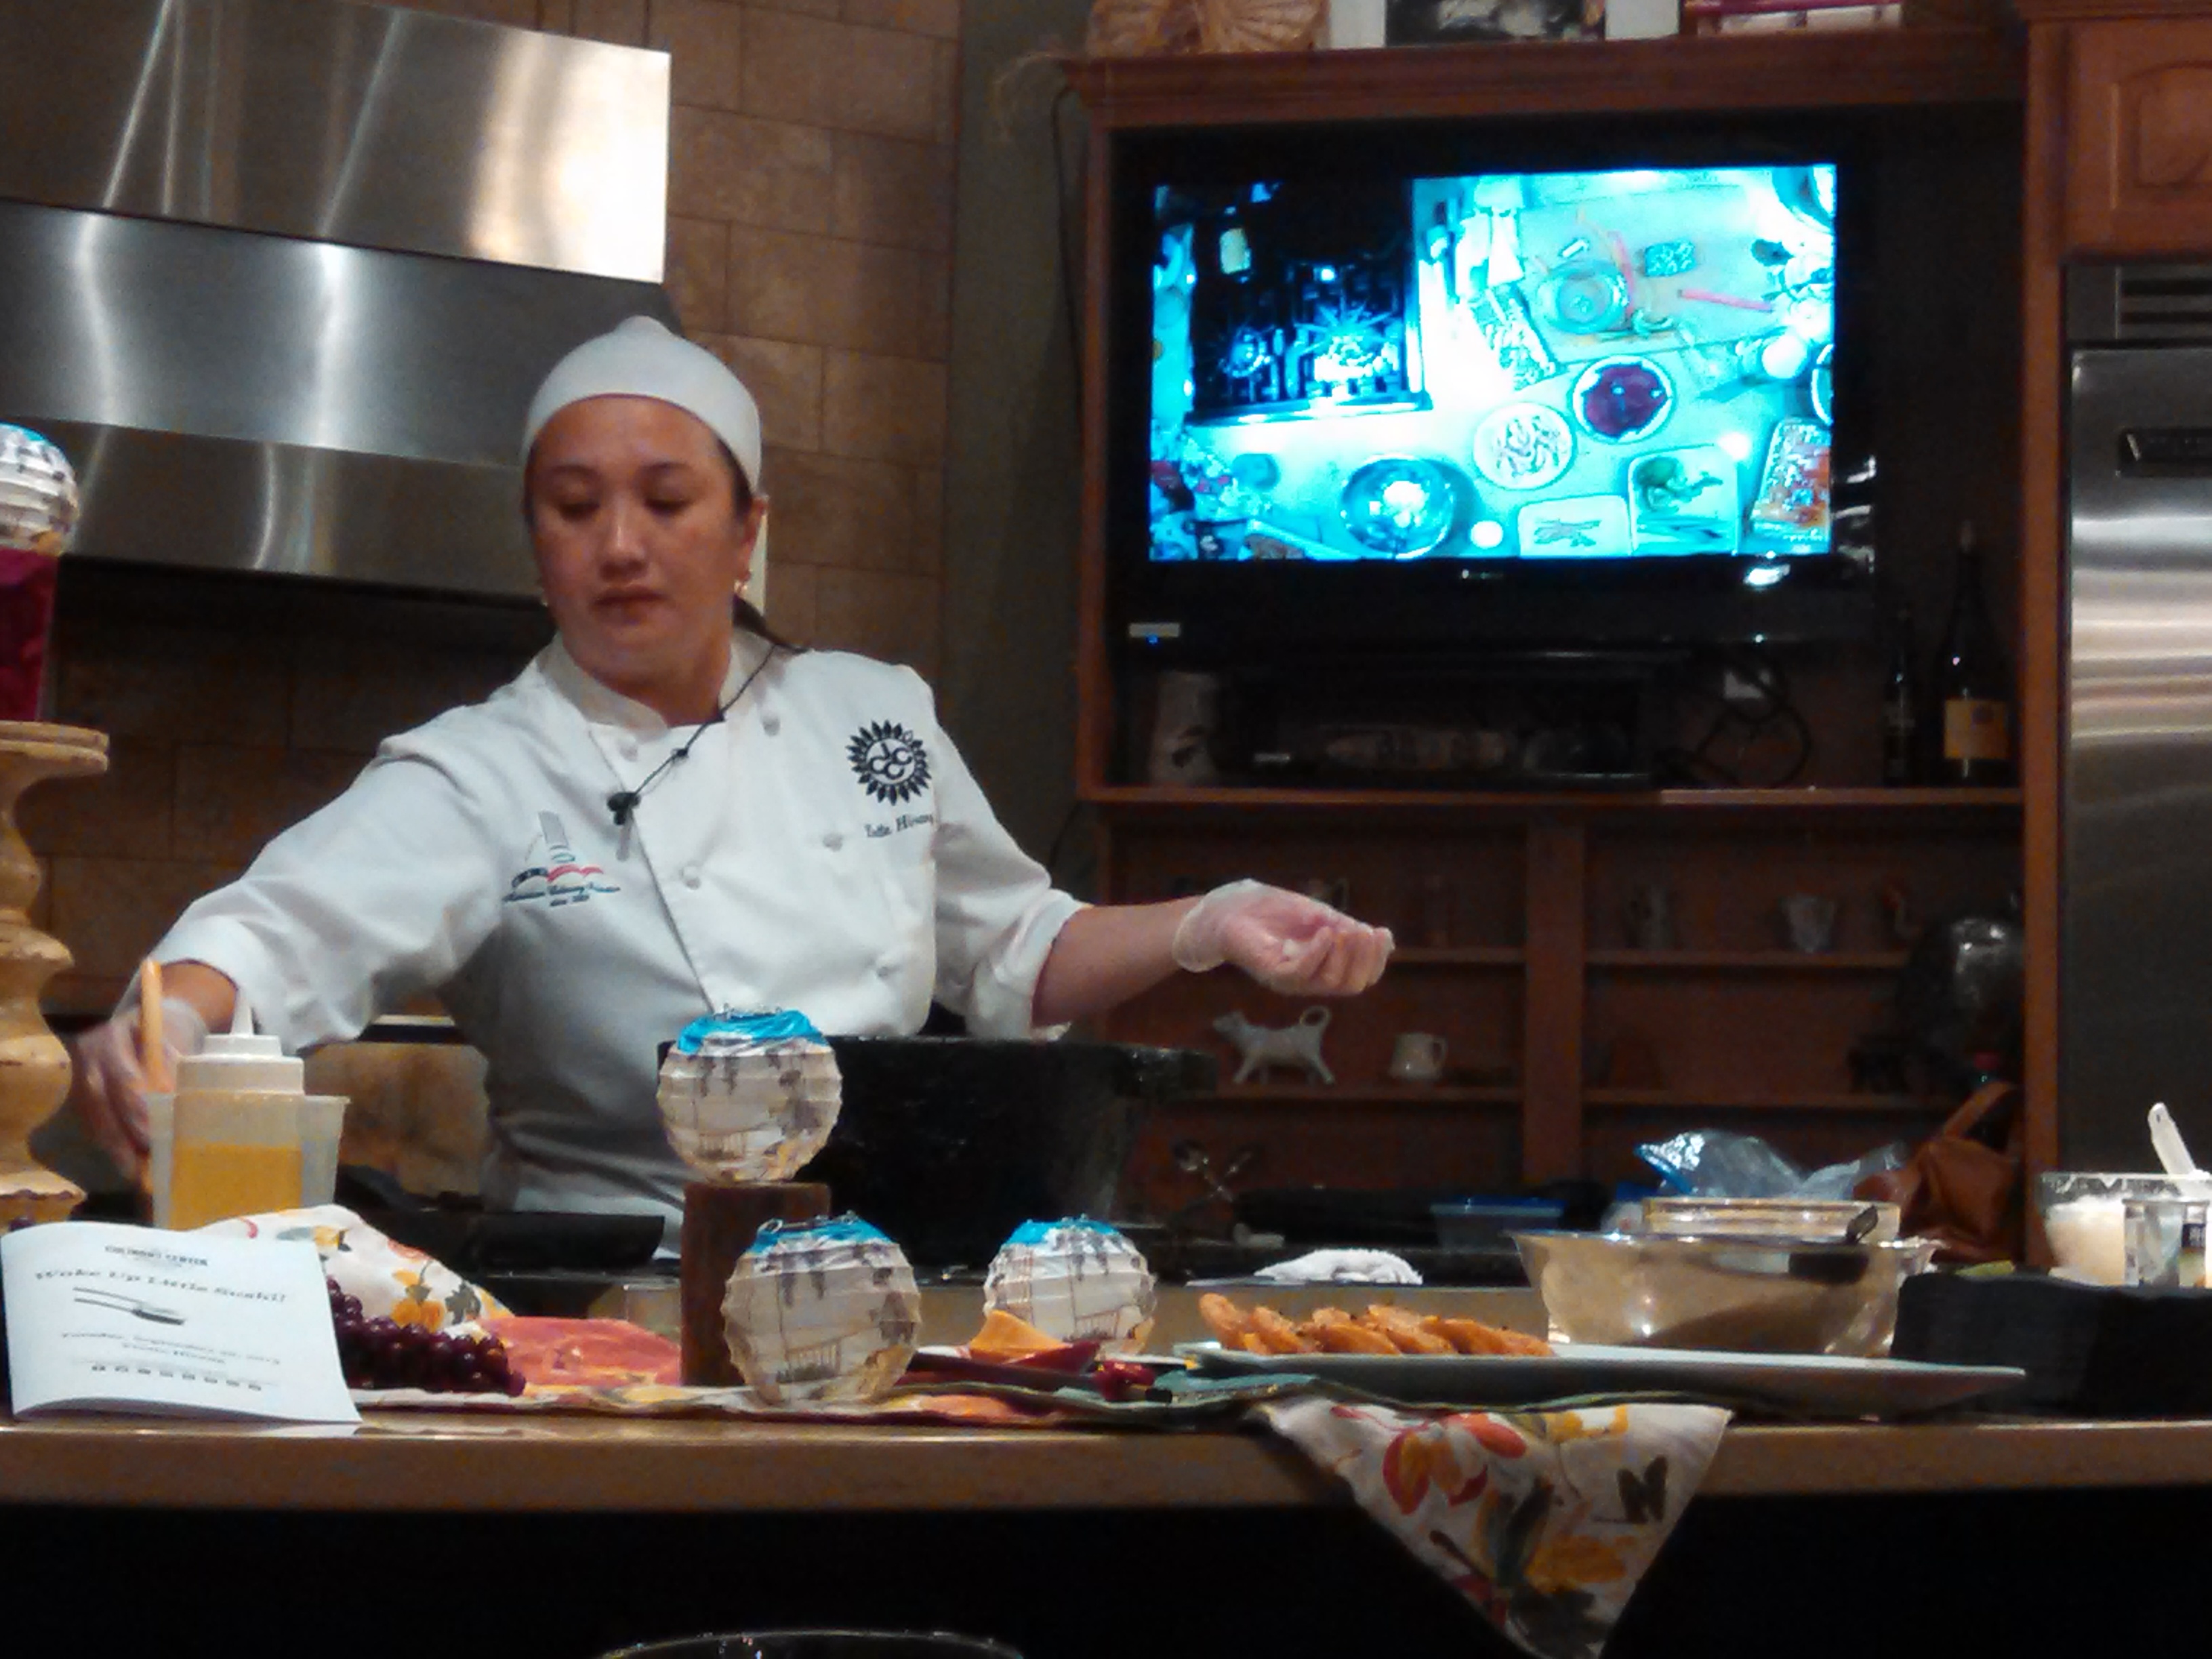
Jay shocked me with an early birthday present. He picked me up after work and handed me my first surprise…the “High N Dry” CD by Def Leppard! Like a bottle of champagne, I cracked it open, and immediately got rocking out in true 80’s fashion as we drove…to a destination I was still unsure of. As we got closer to old downtown Overland Park, I had suspicions, but wasn’t sure. As soon as he pulled in front of the building, I knew we were in for a fun night. A fun night of what, I wasn’t sure. Low and behold, it was a sushi class at the The Culinary Center of Kansas City. “Wake Up Little Sushi” taught by chef Yvette Hirang.
Learning The Basics Of How To Make Your Own Sushi

Soon after we walked in through the store front area, we entered the spacious, home-style kitchen that would serve as our classroom for the next few hours. There were only a couple dozen seats, so we knew the class would be small enough to provide an intimate experience. And the way the kitchen was set up was much like a commercial cooking set, so we also knew we were in for a real education. And prior to being seated, they offered us a glass of wine or beer, and some dim sum to nibble on.
To Make Good Sushi, You Must Make Good Sticky Rice
As we sat at our tables, thumbing through our new custom-made, sushi-making pamphlets, our first lesson was on sushi rice, and how it is the number one, most important part of sushi; quite possibly even more important than the fish!
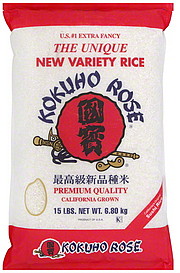
You must use premium quality Japanese “short-grain” rice (like Kokuho Rose). Put it in a strainer, and wash it with cold water (and repeat twice). Drain the water, then add fresh water at a 1-cup to 1-cup ratio to the rice, and put it in a rice cooker. Then, on the side, combine 2 Tbsp rice vinegar, 1 Tbsp sugar and 1.5 tsp salt.
After the rice is cooked (and sticky), transfer to a glass or wooden bowl (not metal), break lumps using a wooden paddle, drizzle the rice vinegar mixture evenly over the rice (while ‘tossing’ the rice in a horizontal cutting motion) and then let it cool for 2-3 minutes. The sushi rice should be warm or room temperature when it is used and served.
For Great Taste, Use Great Sauce
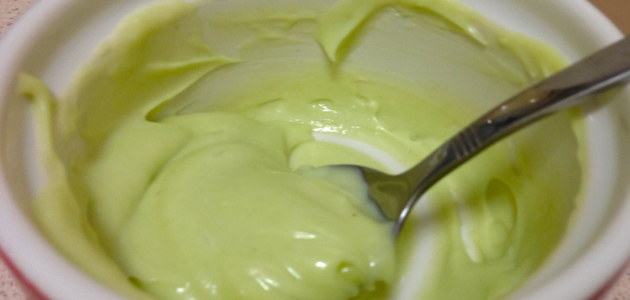
Then she taught us about some simple, great sauces that can make all the difference, such as: wasabi mayo, Sriracha mayo, dashi, mirin, and shoyu (soy sauce with brown sugar and mirin). And that buying essential ingredients (such as: Aquamar premium imitation crab meat, nori [dried seaweed paper], and of course, the Japanese short-grain rice) from an authentic Asian market is best.
Final Preparation Before Making Our Sushi!
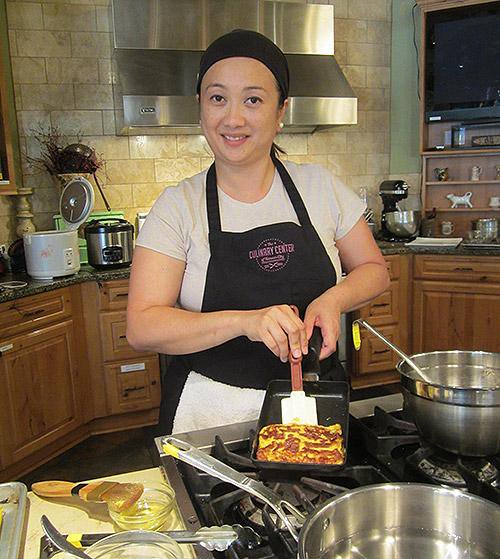
There were only two more things she cooked, before moving on to Jay’s favorite part: raw fish. Tamagoyaki is “egg sushi” – and it’s not easy to make. Using a square-shaped omelet pan, it is cooked on very, very low heat while folding it into very thin layers, one at a time, requiring a lot of patience and a great desire. Yvette also used boiled shrimp (which takes just a few minutes to cook), and when placed onto rice, created Ebi nigiri (shrimp sushi). With just a small dab of wasabi, it tasted pretty darn good because our mouths were watering like crazy at this point! And that’s when she cut the class loose, to start working with the basic concepts of placing warm sticky rice on nori, adding sauce, and imitation crab meet, shrimp or egg.
Teaching Us How To Make Sushi: Preparing ‘Maki’, ‘Nigiri’ and ‘Temaki’
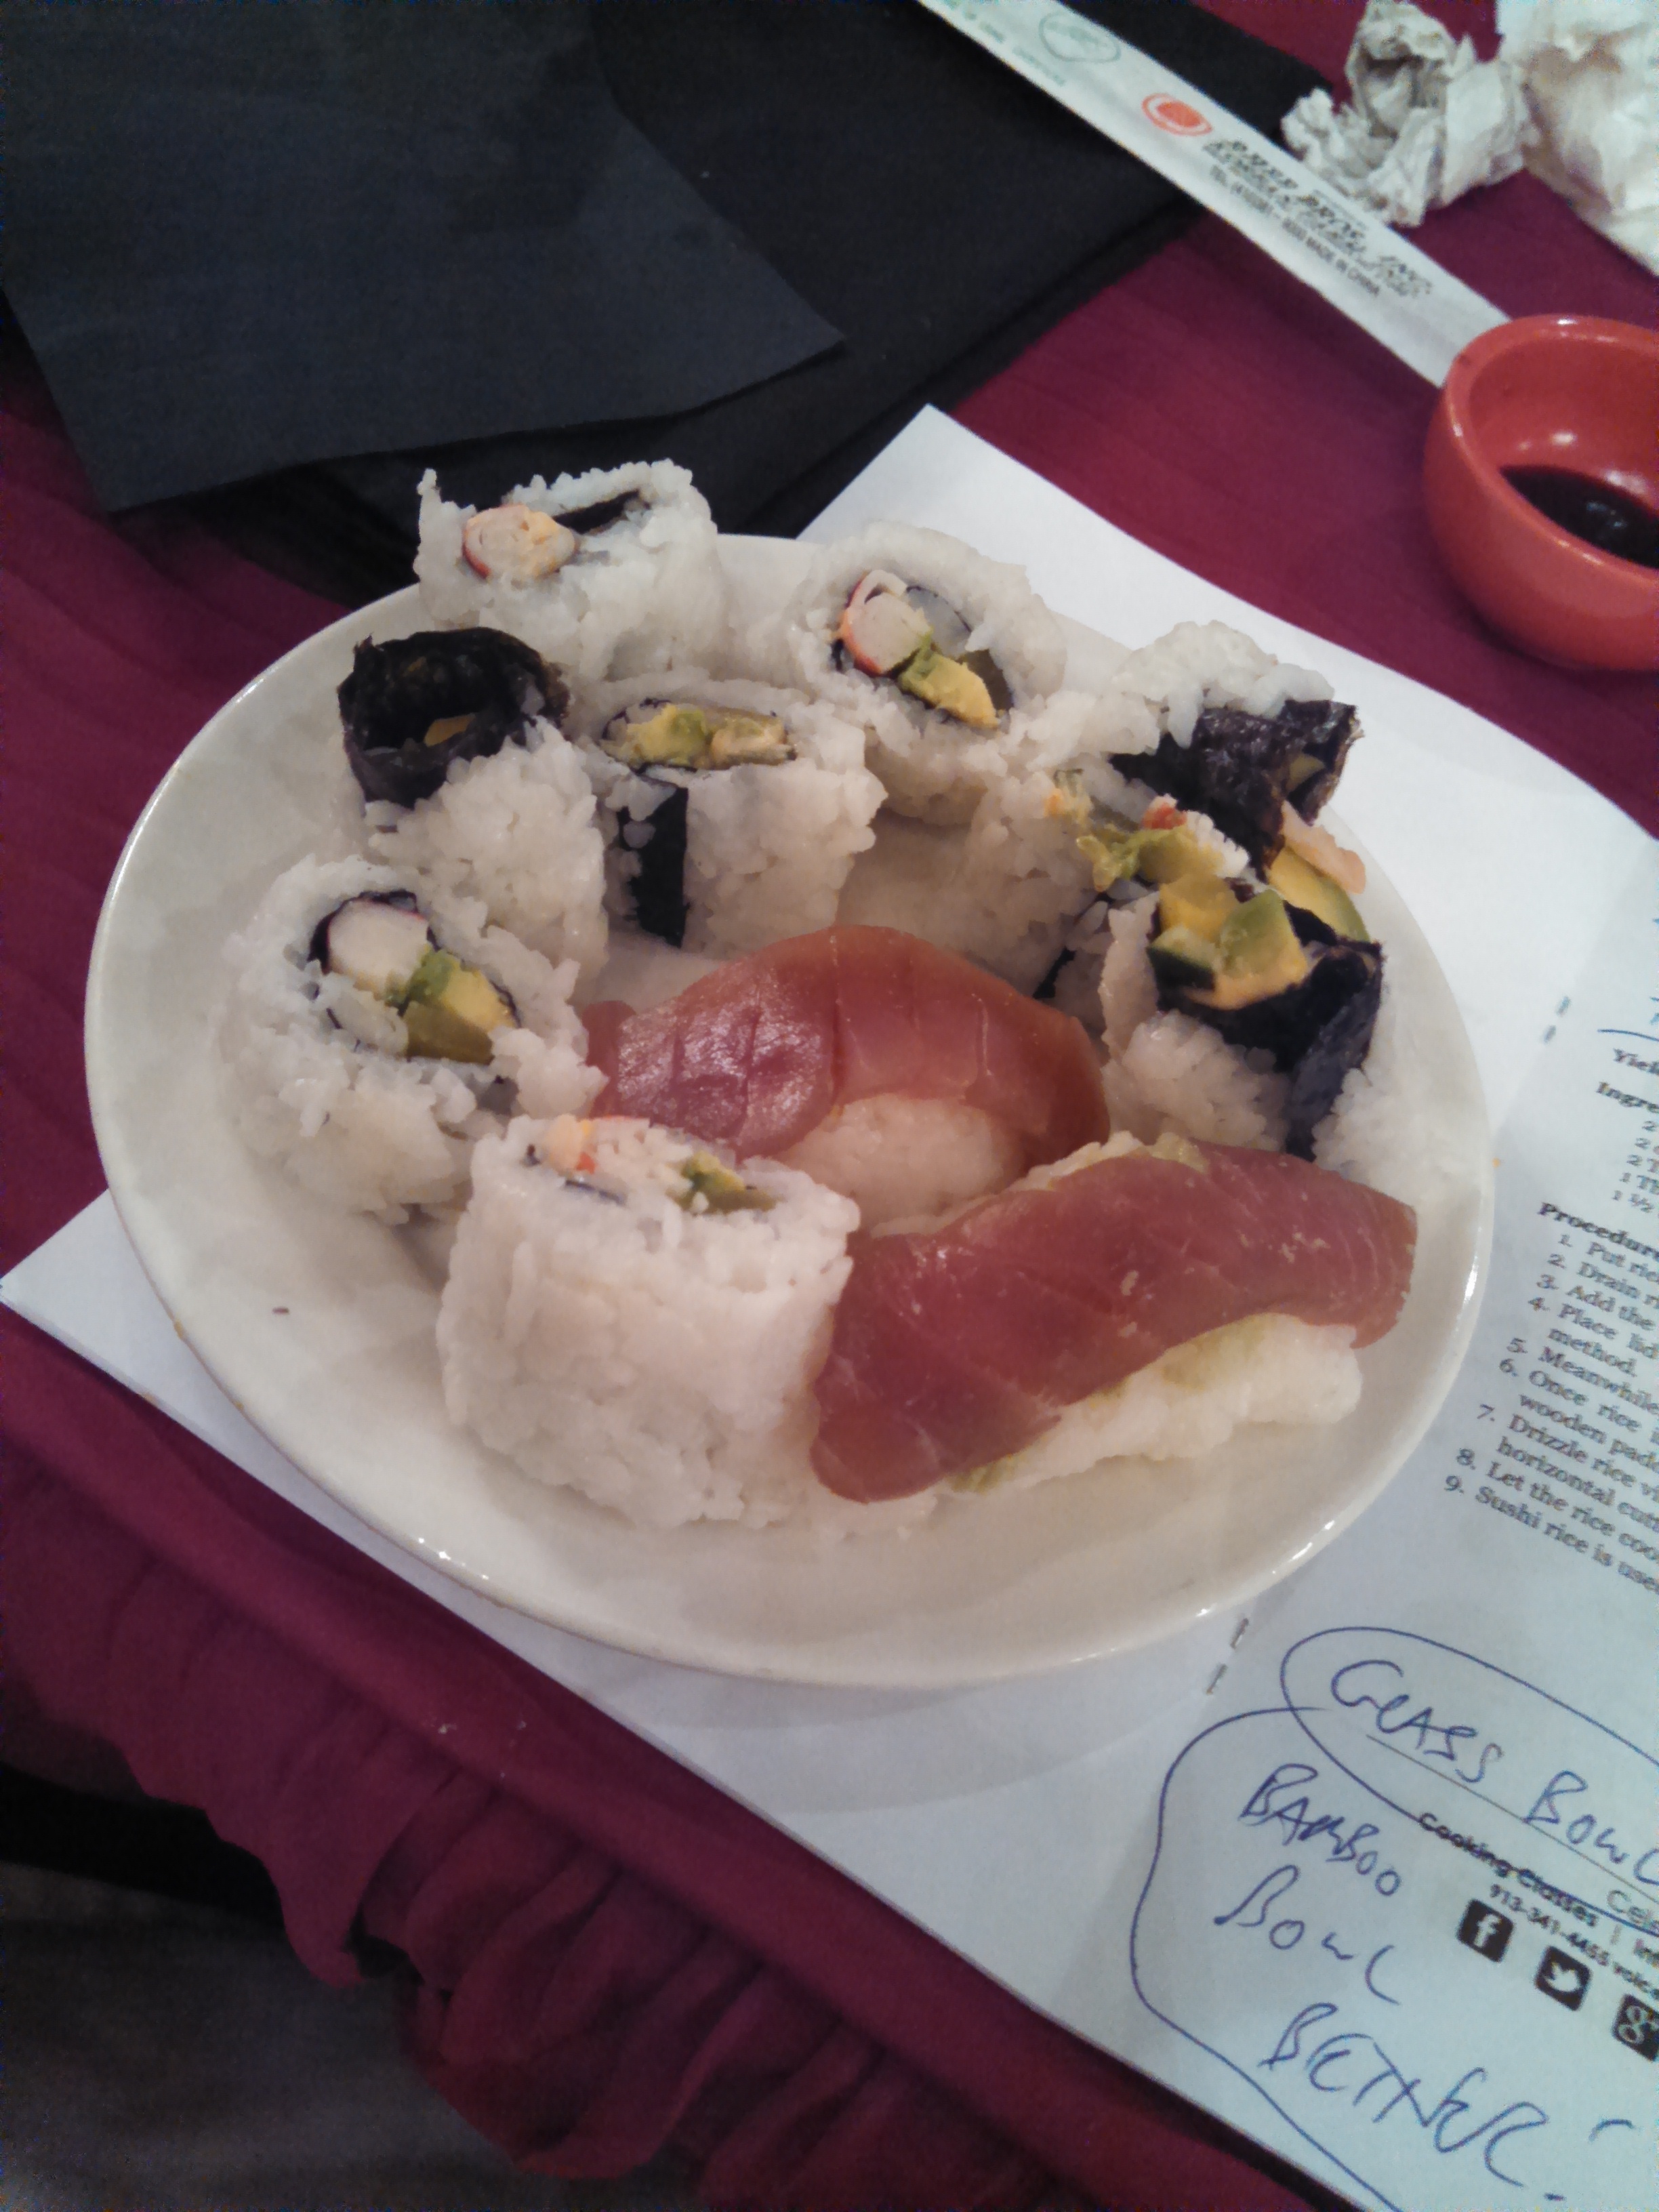
Maki is ‘rice on nori, plus fish (and anything else), cut into pieces,’ while Nigiri is ‘pieces of sushi, served on small balls of rice.’ That’s basically it, and that’s what we focused on for the rest of the evening.
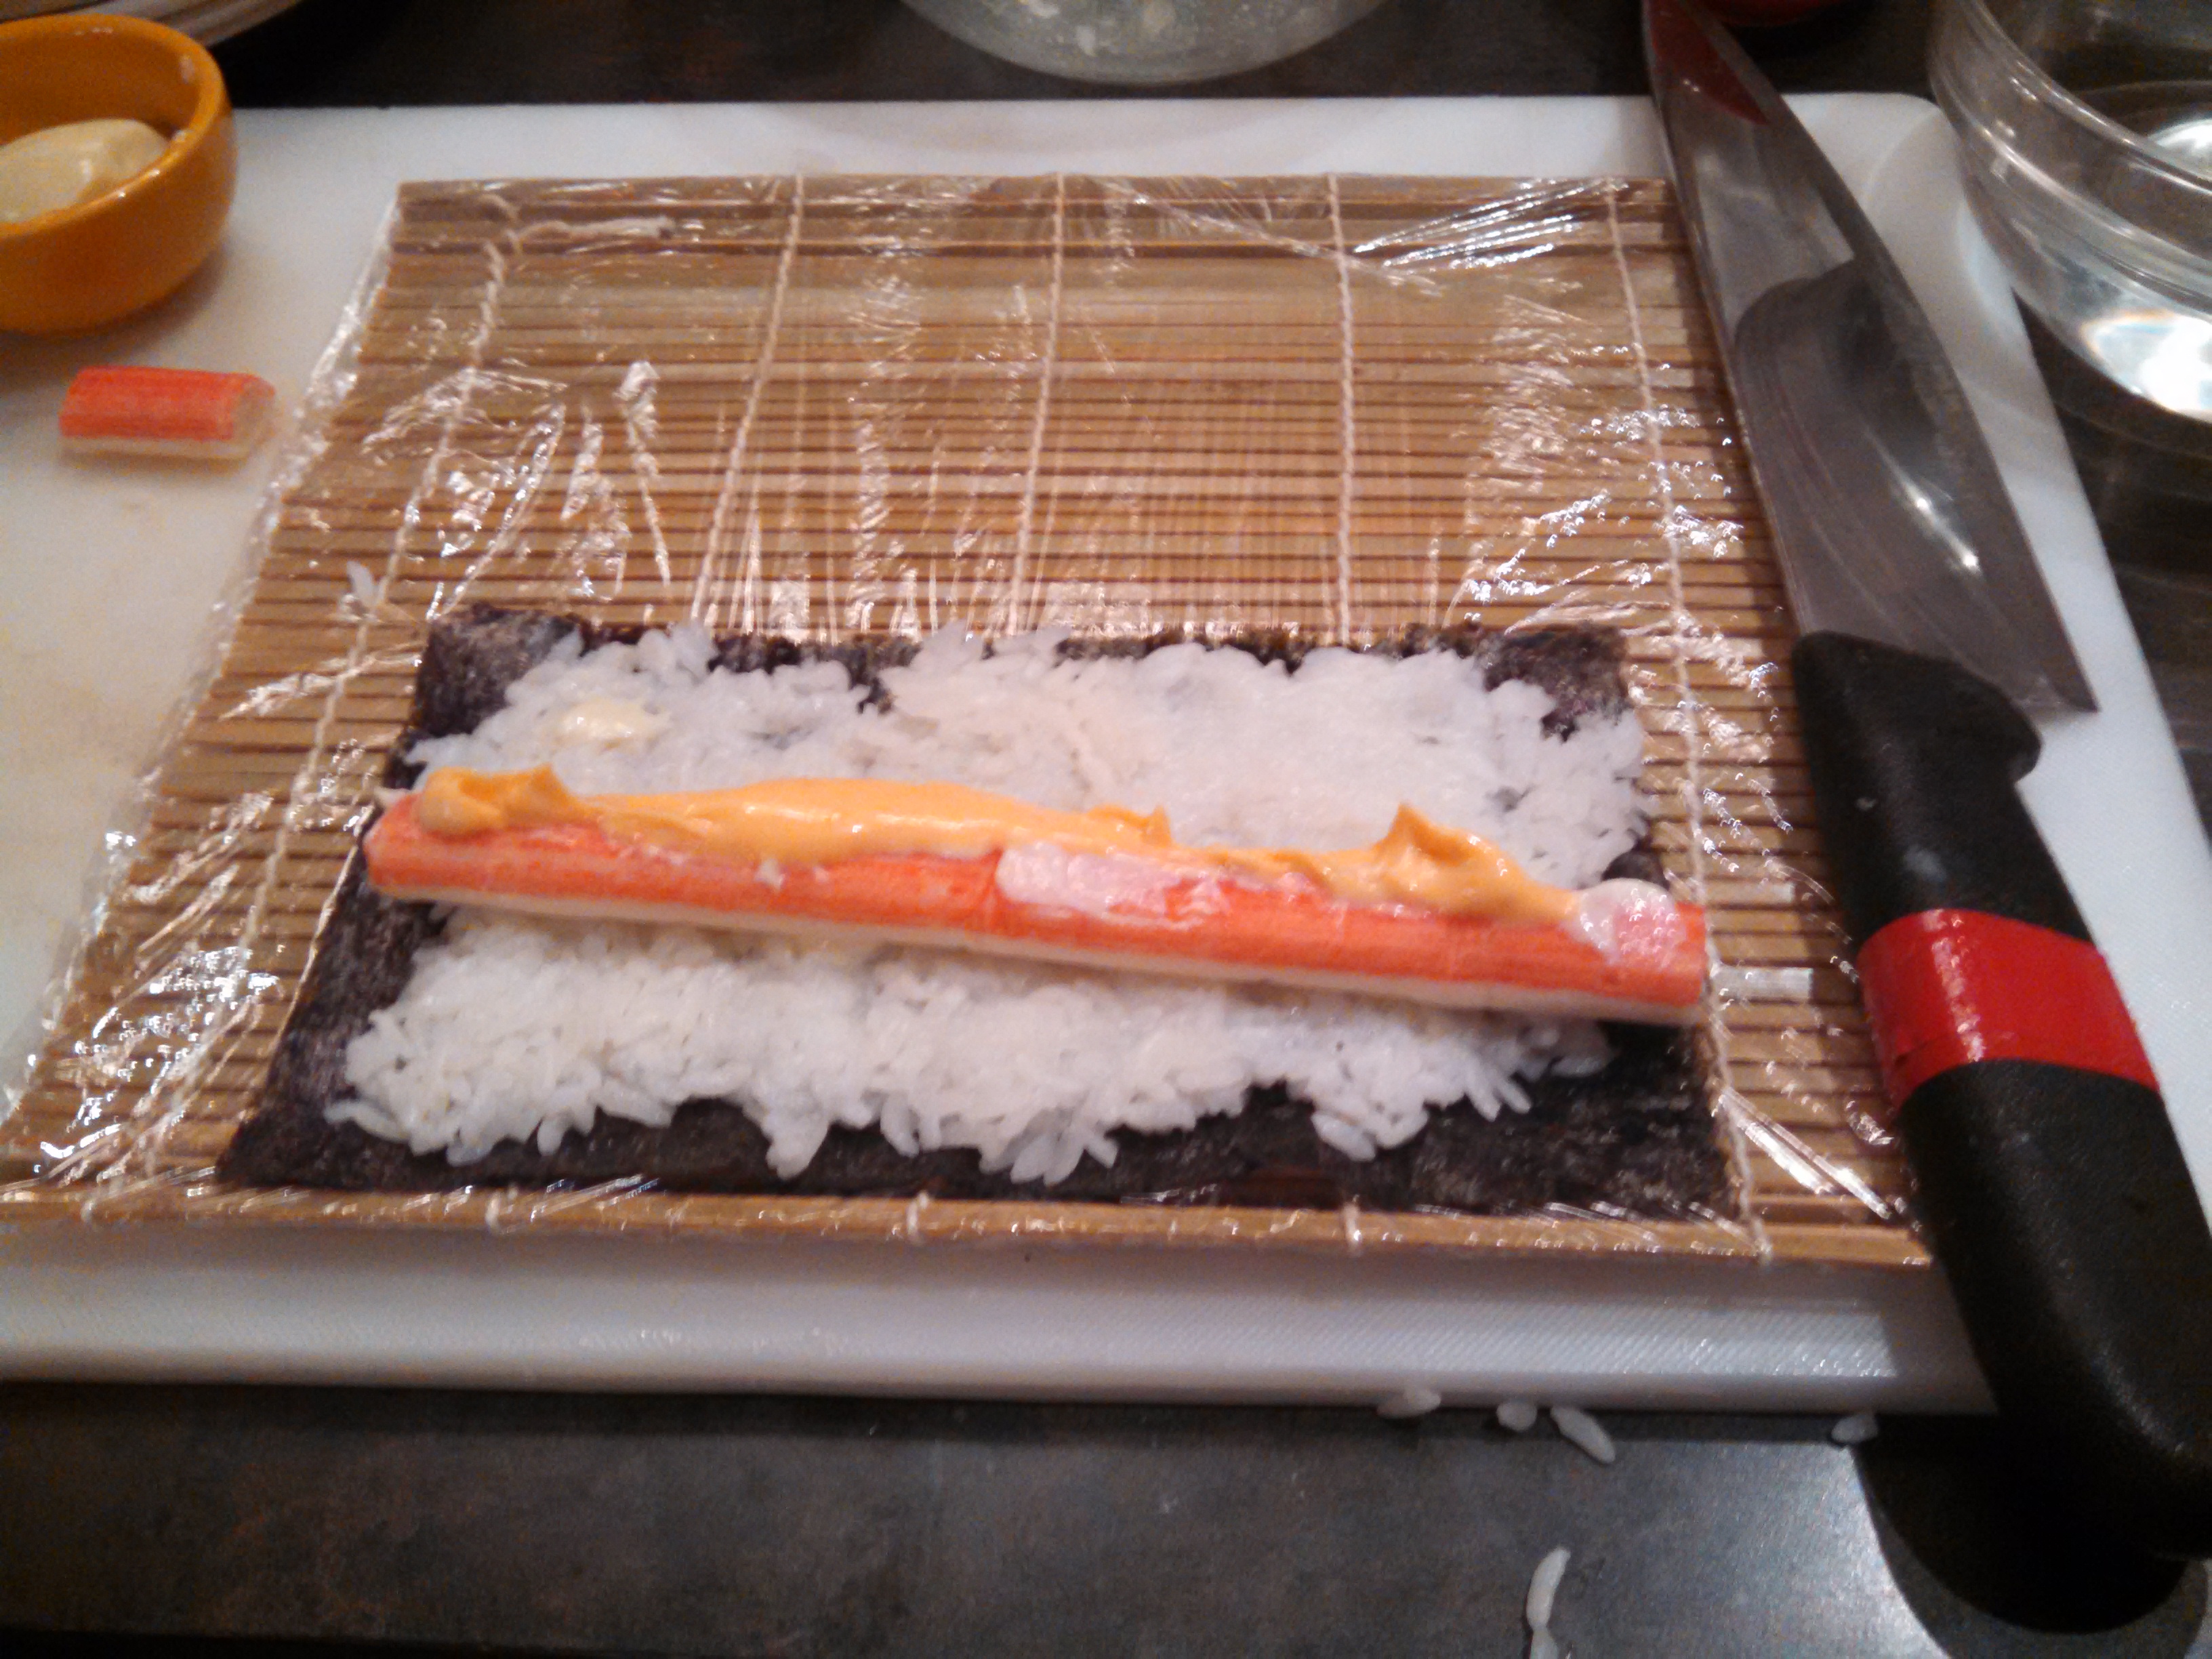
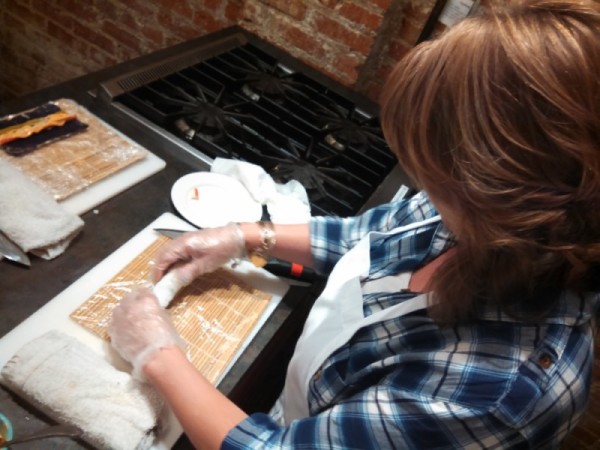
To prepare the maki, first she showed us how to wrap our bamboo mats in plastic wrap so the rice and nori would be easier for us to shape. That was a big help! Other great tips included: be sure to put the rice on the rough side of the nori, always dip your fingers in some water before applying rice onto the nori, and don’t put too much rice in your roll. We found it very easy to make the roll too large for the ends of the nori to meet, which is actually where you get into different sized sheets of nori.
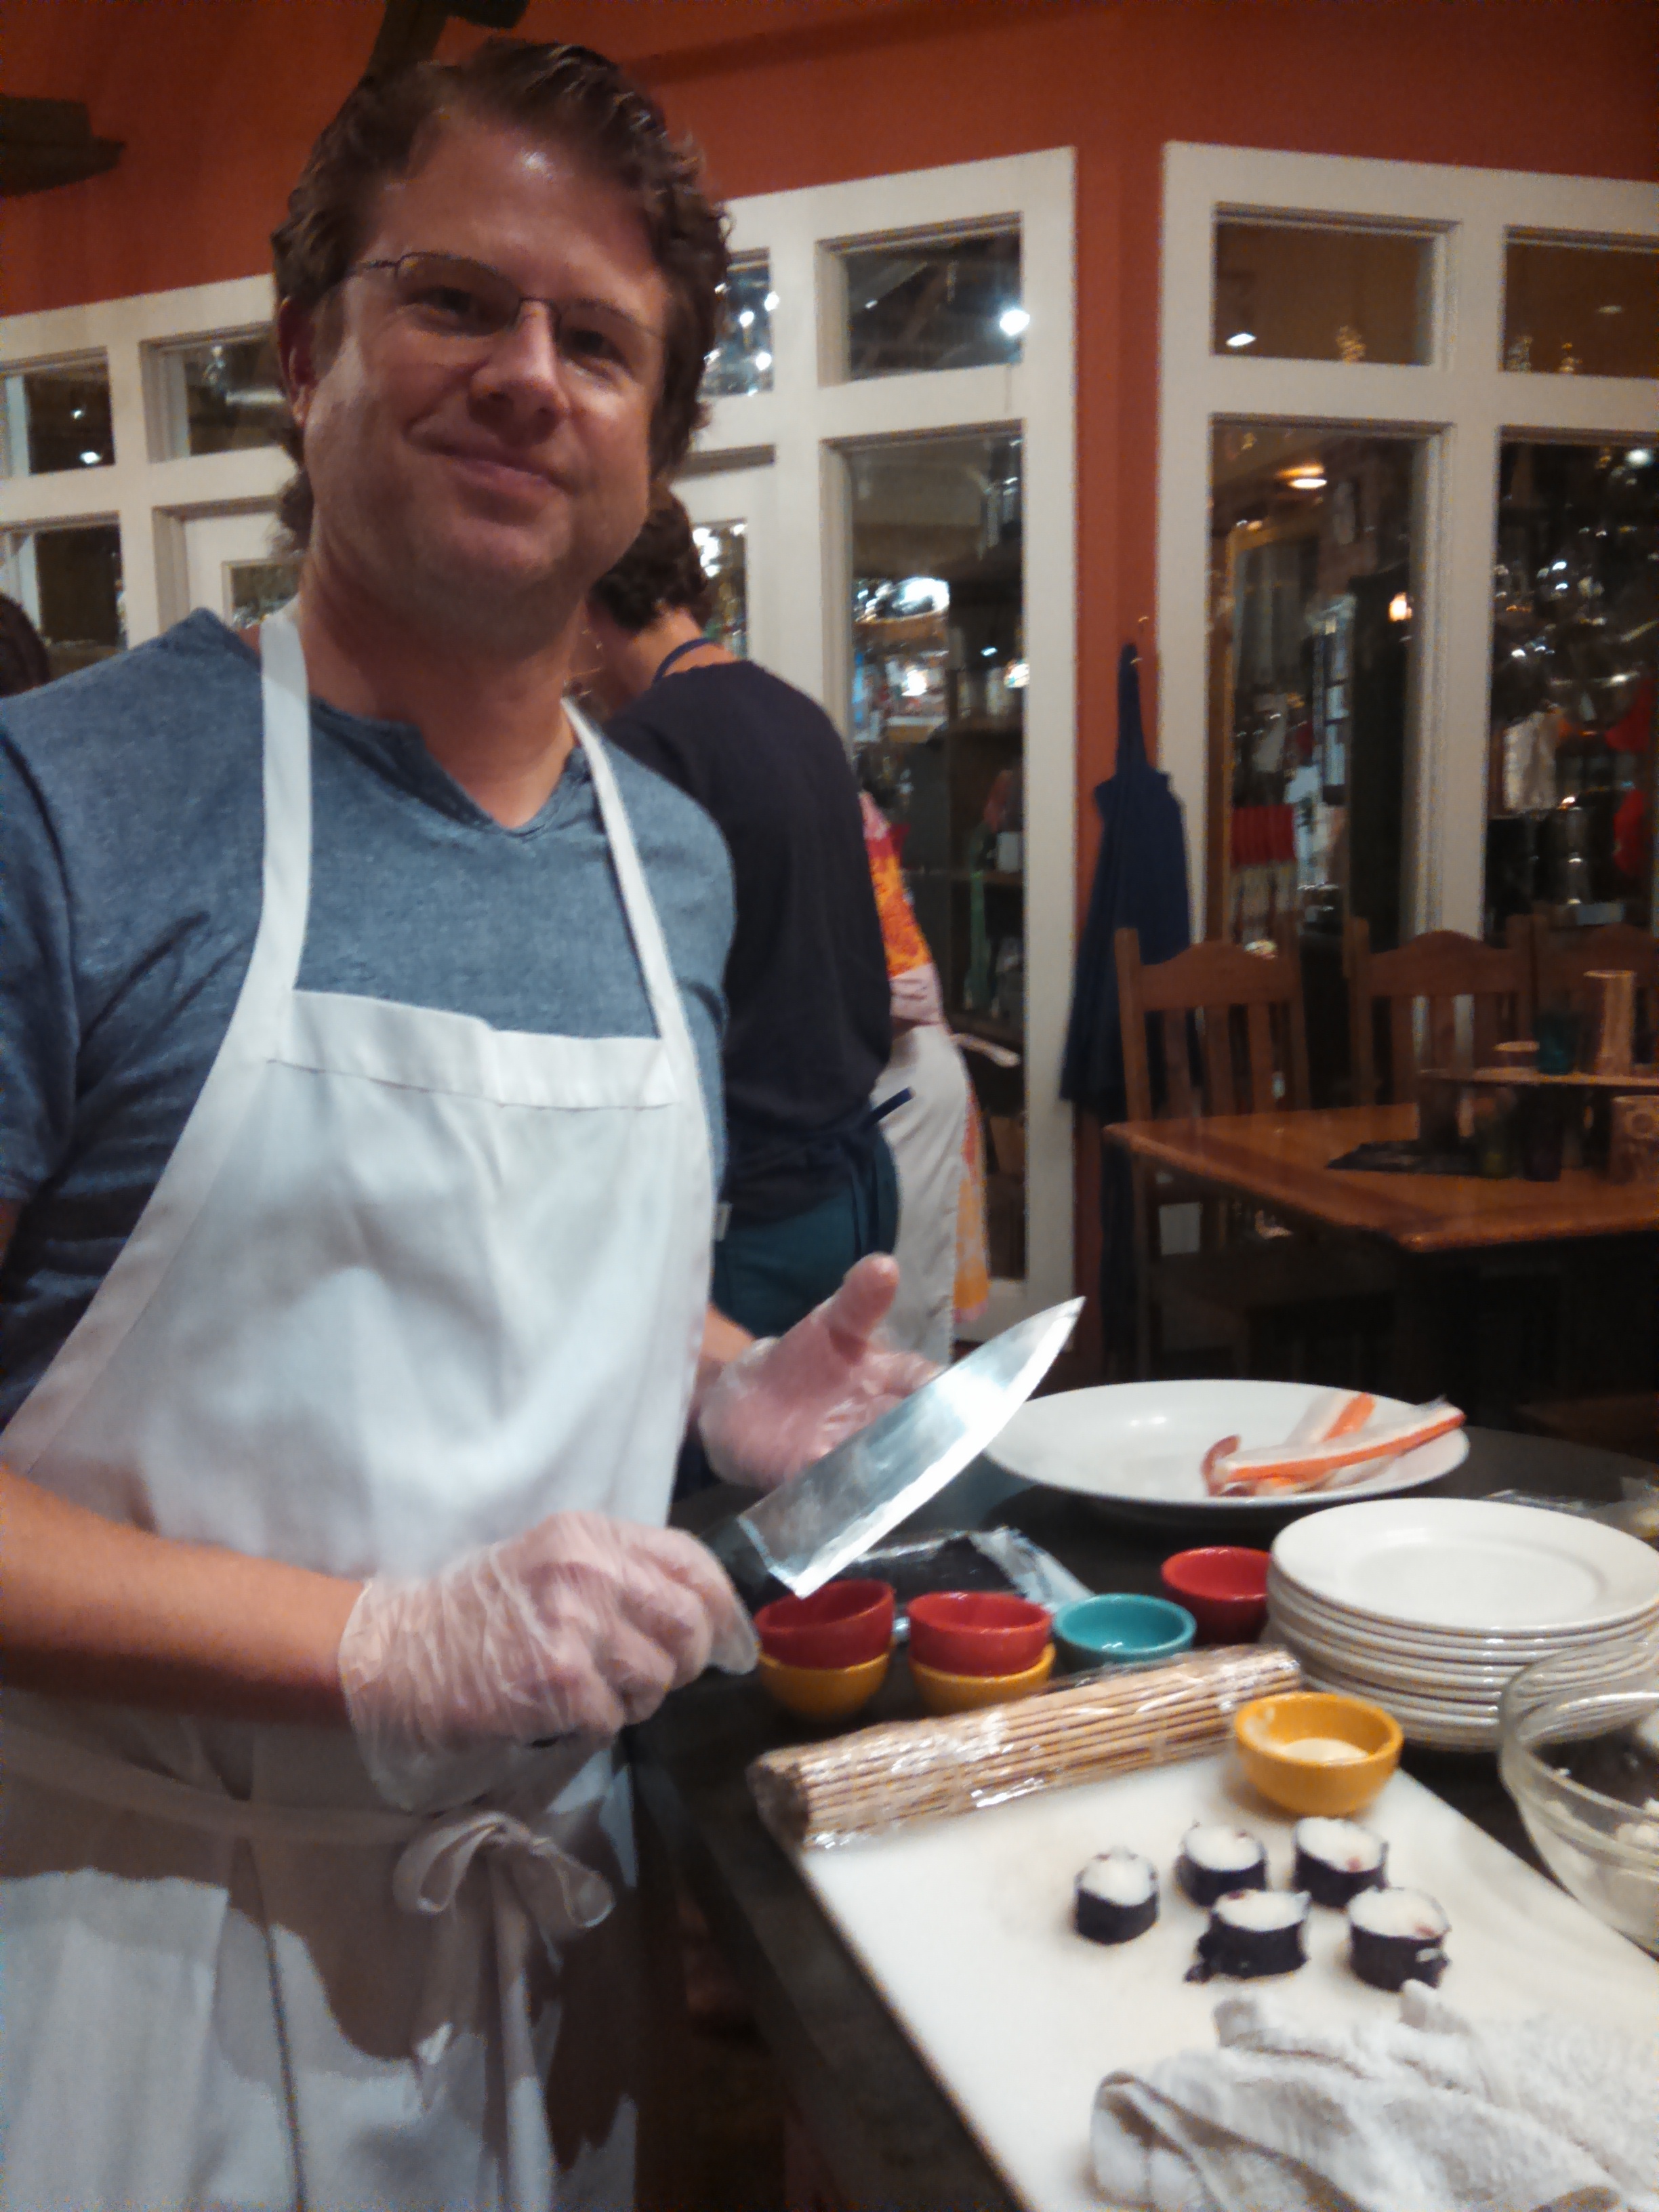
It took a lot of practice to get the rolling right, and the final important tip is: use a very sharp and wet knife to cut the maki into uniform pieces. All of this was awesome information, because we love eating ‘cut sushi rolls!’
Preparing the nigiri was actually easier for our group, because we did not actually cut any fish in this class. But we practiced making the small, rectangular-shaped balls of rice upon which to place the fish, shrimp, and egg.
Then, she had us practice cutting a sheet of nori into four squares to create the “hand roll” style of sushi. It is similar to rolling maki, but the end goal is to create a ‘cone’ with rice and fish inside.
How To Make A “California Roll” (aka “Inside-Out Maki’)
If you’re like me and you don’t love the taste of the seaweed, you may opt for making the Inside-Out “California Roll.” And not only does it taste great, but it looks pretty cool. Basically, you start by making maki, and after the rice is on the nori, You Must Flip The Nori Over, and then add your avocado, imitation crab meat and sauce. The key is to leave space on the top and bottom edges of the nori so when you roll it, it actually connects instead of spreading rice everywhere and falling apart.
Throughout the evening, we asked lots of questions, and got lots of good information, on where to buy the products for making sushi, and where to get fresh fish (Yvette recommended Sushi At Home: Yellowfin Tuna sold at Whole Foods Market.) We are excited to try this out, but still need a few more tools first! So we went home and continued to celebrate my birthday and our first successful sushi making event with one of my new favorites, “Stars” sake (which they sell at Gomer’s in Lenexa for about $10/bottle.)
We Highly Recommend You Take This Class!
If you love sushi like we do and you want to learn how to make it at home, sign up for the sushi class at the The Culinary Center of Kansas City called “Wake Up Little Sushi” taught by chef Yvette Hirang.
Thank you for joining us on another adventure! Please leave a comment below if you enjoyed this post.
Share Impeccably Paired:
I am so glad you guys enjoyed the class. Thank you for the review, it gives an instructor a great sense of accomplishment when students learn and enjoy.